Notes:
- It seems the devices are required to be upgraded to Oreo or Pie OS.
- Default PIN code: 12345
Configuration:
- Perform Clean boot.
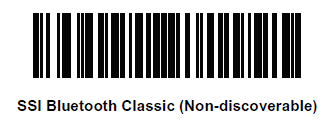
- Scan SSI Bluetooth barcode.
- Perform a Cold boot by removing and re-installing the battery onto the RS5100.
Clean Boot:
Clean Boot restores the RS5100 to its factory default configuration.
To perform a clean boot:
- Make sure the battery is inserted and the scanner is turned on.
- Press and hold the Restore Key until the System LED turns on white.
- Release the Restore Key and immediately press and hold the Restore Key.
- Continue to hold the Restore Key until two beeps indicating a Clean Boot are heard and the scanner boot beep
sequence is heard. The RS5100 is now in its factory default configuration.
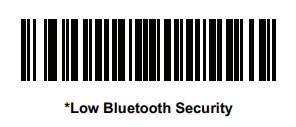
Security
Use Low Bluetooth Security barcode to avoid the PIN code request
Unpairing barcode
Use unpairing barcode to unpair the scanner and the device.

Resetting the RS5100
Perform a clean boot to restore the RS5100 to its factory default configuration
Clean Boot
- Make sure the battery is inserted and the scanner is turned on.
- Press and hold the Restore Key until the System LED turns on white.
- Release the Restore Key and immediately press and hold the Restore Key.
- Continue to hold the Restore Key until two beeps indicating a Clean Boot are heard and the scanner boot beep sequence is heard. The RS5100 is now in its factory default configuration.
A barcode is available to Set Factory Defaults, although it’s enough performing a Clean Boot as mentioned above.
Scan the Set Factory Defaults barcode below to eliminate all custom default values and set the RS5100 to factory default values.