TellNext offers the possibility to do captures of the terminal screens.
In the _tnx_process file, in Network section, you will find the corresponding parameters to be set:
"Network": {
...
  "Capture": {
    "Frames": false,
    "Screens": false,
    "ToggleKey": "0000",
    "File": "$/TellNextTrace.tnst",
    "SizeLimit": 1024
  }
}
Please, refer to the product manual or notes for the description of each parameter.
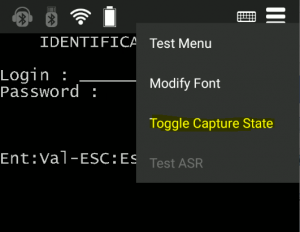
By default, Frames and Screens are set to false, but the Capture option is available in the menu from Terminal Window: long click and select the Toggle Capture State.

Once activated, the information of all the screens and frames will be recorded, until we stop the process, clicking again on the Toggle Capture State.
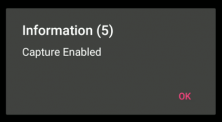
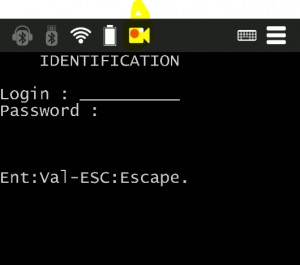
A camera icon will be displayed when the capture is activated, and a message will be displayed on the screen:


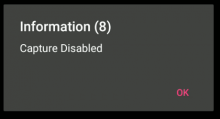
In the same way, you can disable the capture by a long click on the Terminal View menu and select the Toggle Capture State option. The following message will be displayed, and the capture will be deactivated:

The TNST capture file generated will be available in sdcard/TellNext/Application folder, as it was set by default in the parameter File in the _tnx_process configuration file. This path may be changed by the user.
The size of this file is incremental with each activated screen capture.
It can be imported to your PC:
- connecting the device through USB port and reaching the correct path with Windows Explorer (by default, /sdcard/TellNext/Application/TellNextTrace.tnst) – If the file is not available through Windows Explorer, try to reboot the device –
- using the bat file provided with TellNext application and called ImportCapture.bat. This process will create a local folder on your PC named “captures” where the tnst files will be imported and deleted from Android device. Watch out! Currently this file only imports the capture files stored in the default path (/sdcard/TellNext/Application)
NOTE:
- If the parameters “Frames” and “Screens” are set to TRUE, the capture is automatically activated.
- If any of them is set to FALSE, the capture will be performed automatically according to the parameter set as TRUE.
- If both of them are FALSE, the capture must be activated manually as it has been explained at this document.
- Messages we can find during the capture process